NodeJS七天课程学习笔记_第8天 Blog综合案例
Blog 综合案例 (包含注册、登录、修改密码、注销、发布、分页列表、评论、个人中心、上传头像等)
课程内容概要:
1. 介绍art-template中的 子模板 与 模板继承
2. 介绍表单同步提交与异步提交的区别
3. 介绍了可视化管理工具MongoBooster
4. 介绍了blueimp/javascript-MD5的配置和使用
5. 介绍express-session的配置与使用
6. 注册、登录 与 退出 功能的实现
7. 介绍 Express 中间件 原理
8. express中的 三大类 中间件
9. express中的 全局统一错误处理
注意: Node中有许多第3方模板引擎,不只有art-template,还有:
ejs (e代表effective高效之意,从json中生成html的一种魔法) 、
jade(因版权问题,后改名pug哈巴狗)、
handlebars(号称logic-less templateheima的manmanmai项目用到)、
nunjucks(是Mozilla开发的一个纯JavaScript编写的模板引擎)
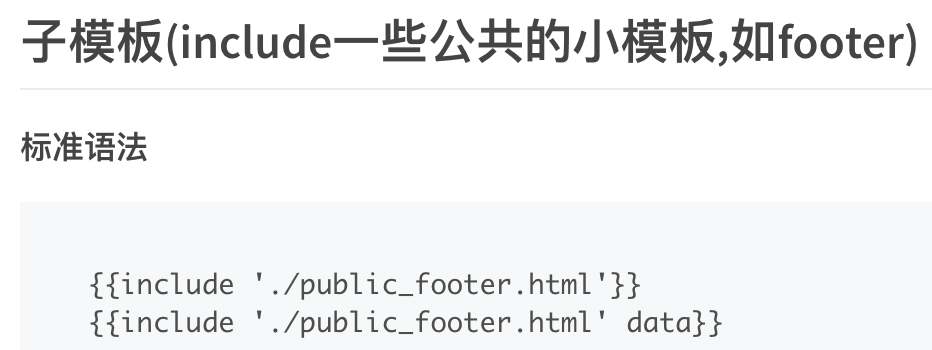
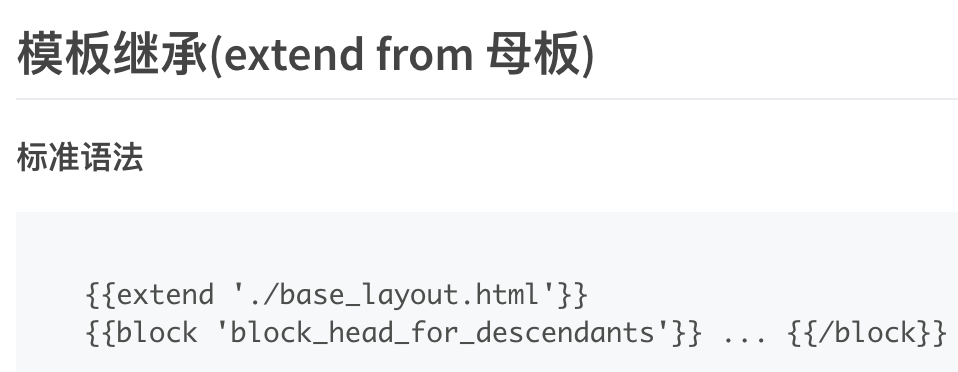
首先讲art-template中的子模板(include) 以及 模板继承(extend)语法
官方文档地址 aui.github.io/art-template/zh-cn/docs/syntax.html
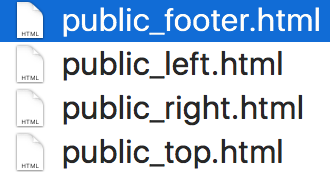
第1步, 新建下面4个文件 作为将来 被包含的子模板
公共的顶部public_top.html、
公共的底部public_footer.html、
公共的左侧边栏public_left.html、
公共的右广告栏public_right.html
第2步,新增 node_51_base_layout.html 作为将来被各个实际页面继承(extend)的母板
母板里面有个完整的骨架,
母板里包含(include)了公共的顶部、底部、左侧边栏、右广告栏
母板里head引入所有页面要用到的公共的css(如bootstrap)、js(如jquery)
同时,母板里,
通过block语法,在head标签中 预留了 实际页面真正要用到的 title、css、 js空间
通过block语法,在body标签中 预留了 实际页面真正要用到的html 空间
node_51_base_layout.html母板完整代码如下:
第3步,现在就可以新建首页node_51_index.html了 ,
该首页 继承(extend) 自 base_layout.html母板
node_51_index.html完整代码如下:
入口文件node_51_index.js代码如下:
路由文件node_51_router.js代码如下:
通过node_51_index.js入口 加载 node_51_router.js路由之后
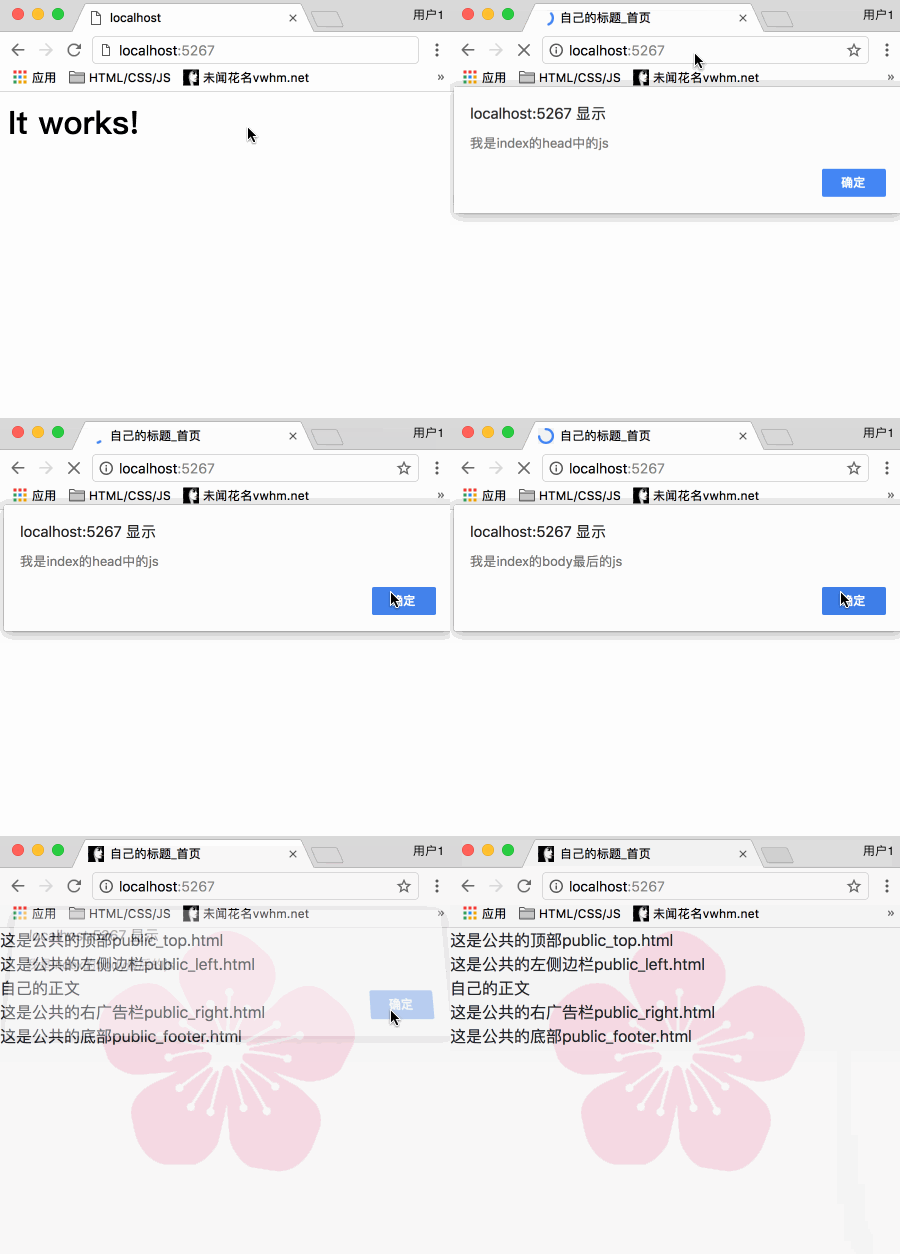
启动服务器,渲染效果如下:
Blog项目开始
第1步. 项目初始化
首先npm init -y ,生成package.json
然后git init,然后手动新建.gitignore文件
第2步. npm 安装 mongoose和express和art-template和express-art-template
第3步. 项目目录
public目录下有img和css和js和lib目录
views目录下放着html模板, 分成了登录注册模块、文章模块
第4步. 路由设计
| 请求路由 | 方法 | GET参数 | POST参数 | 是否需要登录权限(没用到) | 备注 |
| / | GET | 首页index.html即文章列表 | |||
| /register | GET | 注册页面register.html | |||
| /register | POST | email,password,username | 处理注册的POST请求 | ||
| /login | GET | 登录页面login.html | |||
| /login | POST | email,password | 处理登录POST请求 |
首先处理的路由是 / , 渲染首页node_52_index.html
由于数据库内暂时还没有数据,所以首页只用几个假的数据先填充,以保证样式正常
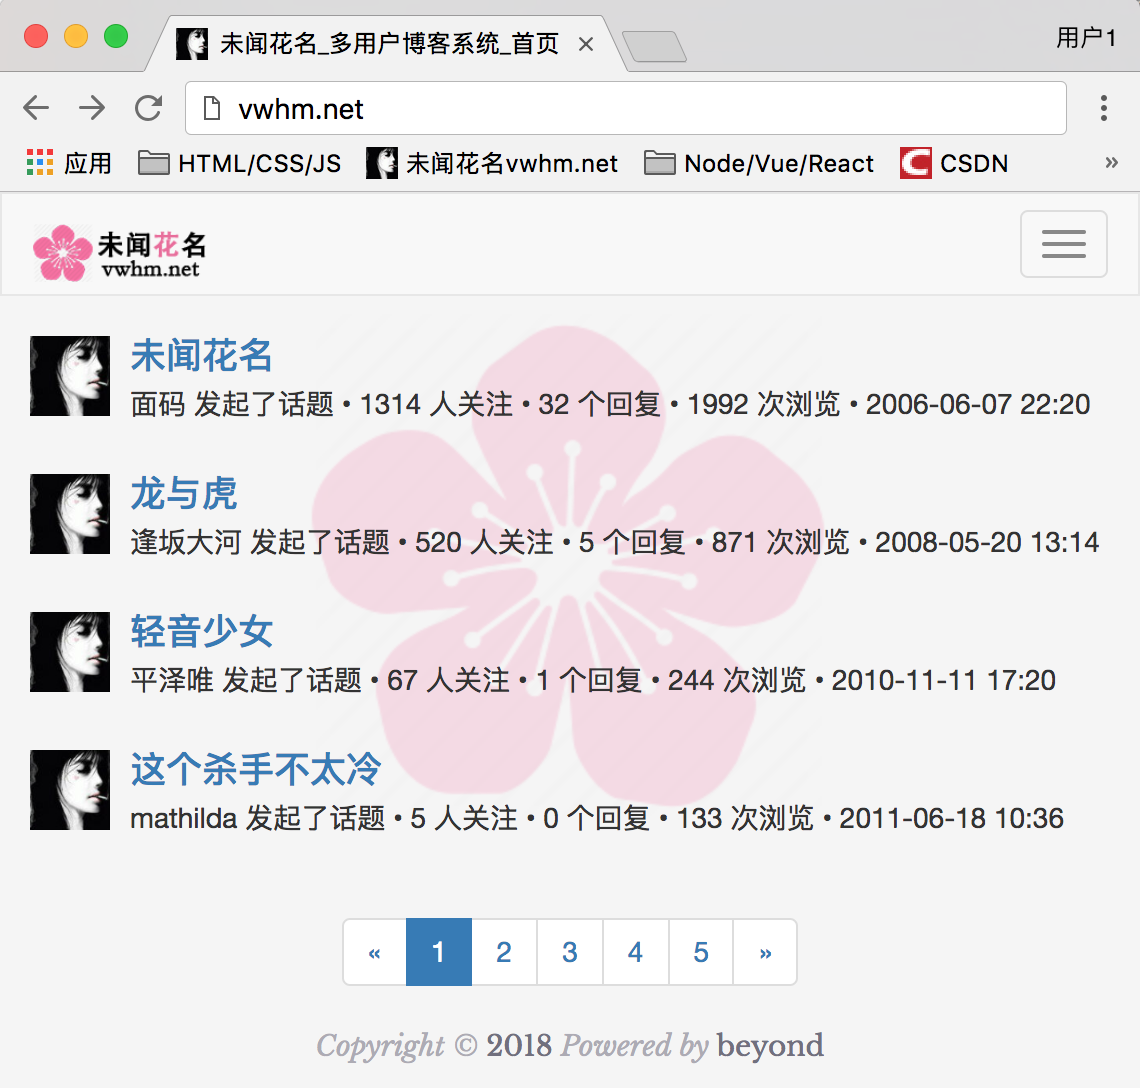
首页的渲染效果如下:
首页node_52_index.html代码(暂未使用模板引擎渲染)如下:
注意: 首页node_52_index.html 是 继承(extend)自 母板 node_52_base_layout.html
母板node_52_base_layout.html代码如下:
注意:
母板node_52_base_layout.html中用到的子模板node_52_public_top.html 以及
子模板node_52_public_footer.html代码分别如下:
子模板node_52_public_top.html代码如下: (一会儿写了登录注册后,再完善)
子模板node_52_public_footer.html代码如下:
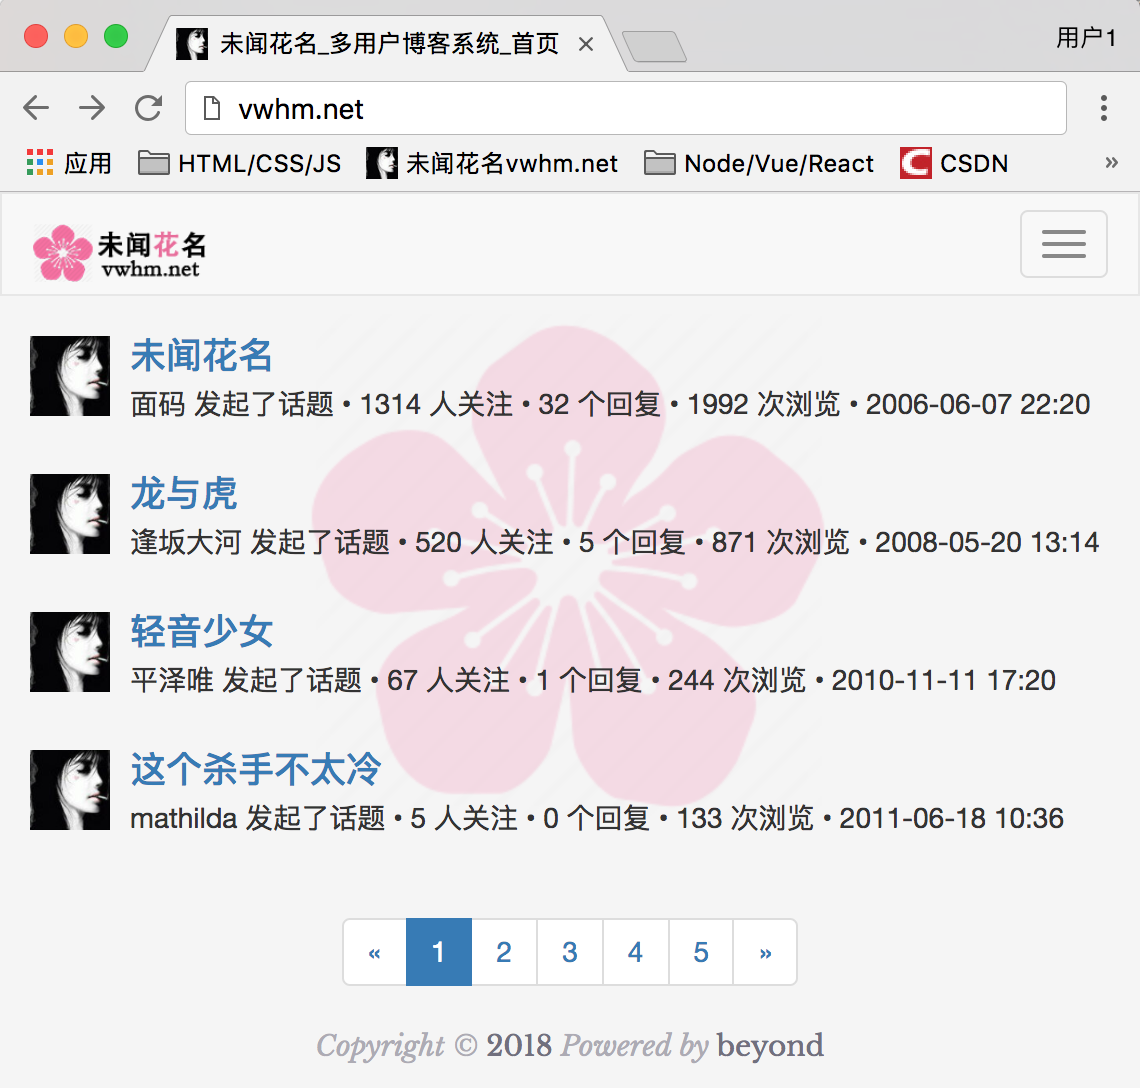
目前为止,首页,效果如下:
接下来,点击首页->右上角按钮->弹出下拉菜单->单击注册按钮
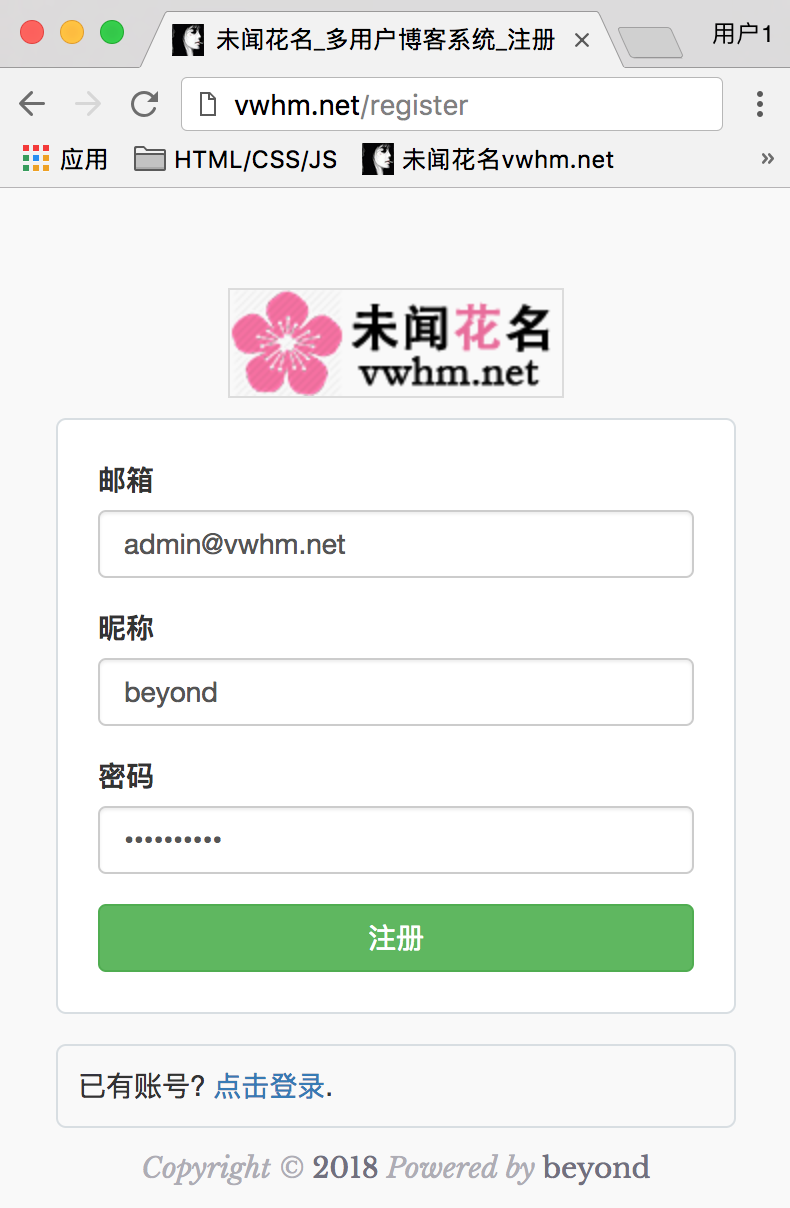
注册页面效果如下:
开始渲染node_52_register.html注册页面: (包括使用ajax发送异步请求(POST注册)):
代码如下:
接下来编写服务端的代码, 以便处理ajax提交post过来的注册请求
这儿我们使用mongodb + mongoose中间件
第1步, 打开命令行,执行mongod 启动mongodb数据库服务
第2步,新建node_52_userdao.js, 创建User数据模型Schema
(注意: 后面我们还会创建articledao.js用来操作文章入库的CRUD)
(注意: 后面我们还会创建commentdao.js用来操作评论入库的CRUD)
node_52_userdao.js代码如下:
第3步,安装和配置body-parser中间件,自动化处理表单请求
第4步,保存入库,并将操作结果的json数据 回写浏览器
这个保存之前,要先查询 email 或者 username是否已经存在,
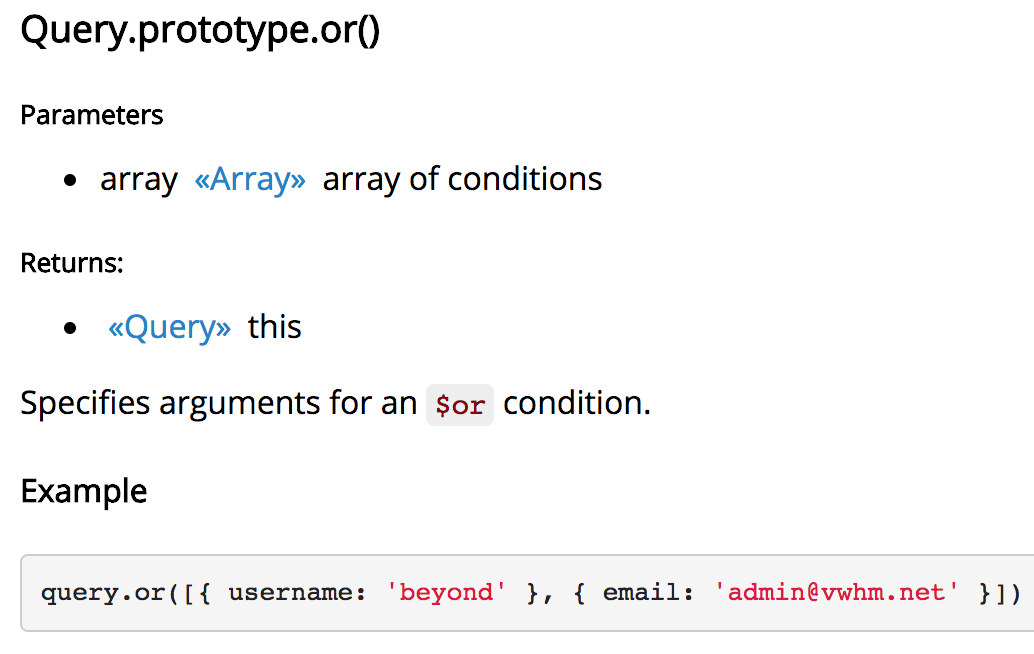
使用到了mongoose官方文档 中的 or 语法,mongoosejs.com/docs/api.html#query_Query-or
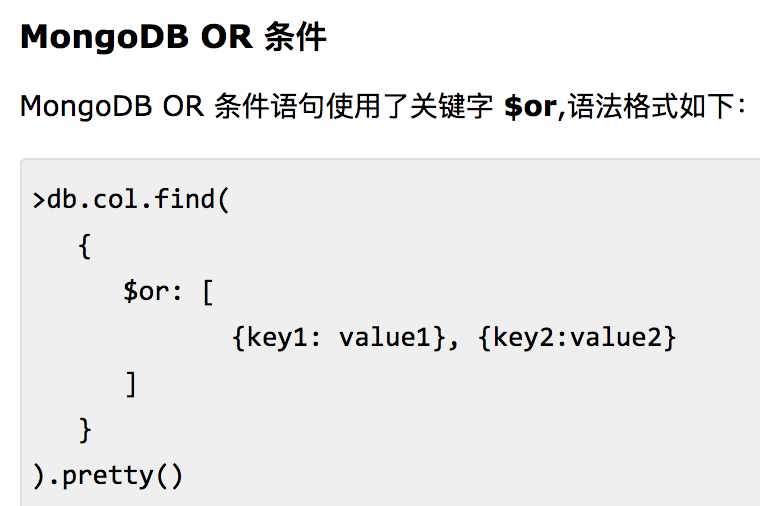
也可以参照mongodb官方文档 中的 or 条件语法
在node_52_router.js中,处理post过来的register请求时,
先判断数据库中是否已经存在email和username
如果查询错误,那么给浏览器报错500,Server Error
如果email已注册,那么给浏览器报错err = 1
如果username已存在,那么给浏览器报错err = 2
如果使用or查询,为了少写一个接口,那么给浏览器报错err = 3,email已注册或username已存在
如果查询结果为null,那么执行注册save操作,
如果save结果出错,那么给浏览器报错500
如果save成功,那么给浏览器返回{“err”:0,”msg”:”注册成功”}
浏览器就会收到异步请求返回的结果,进行客户端跳转了
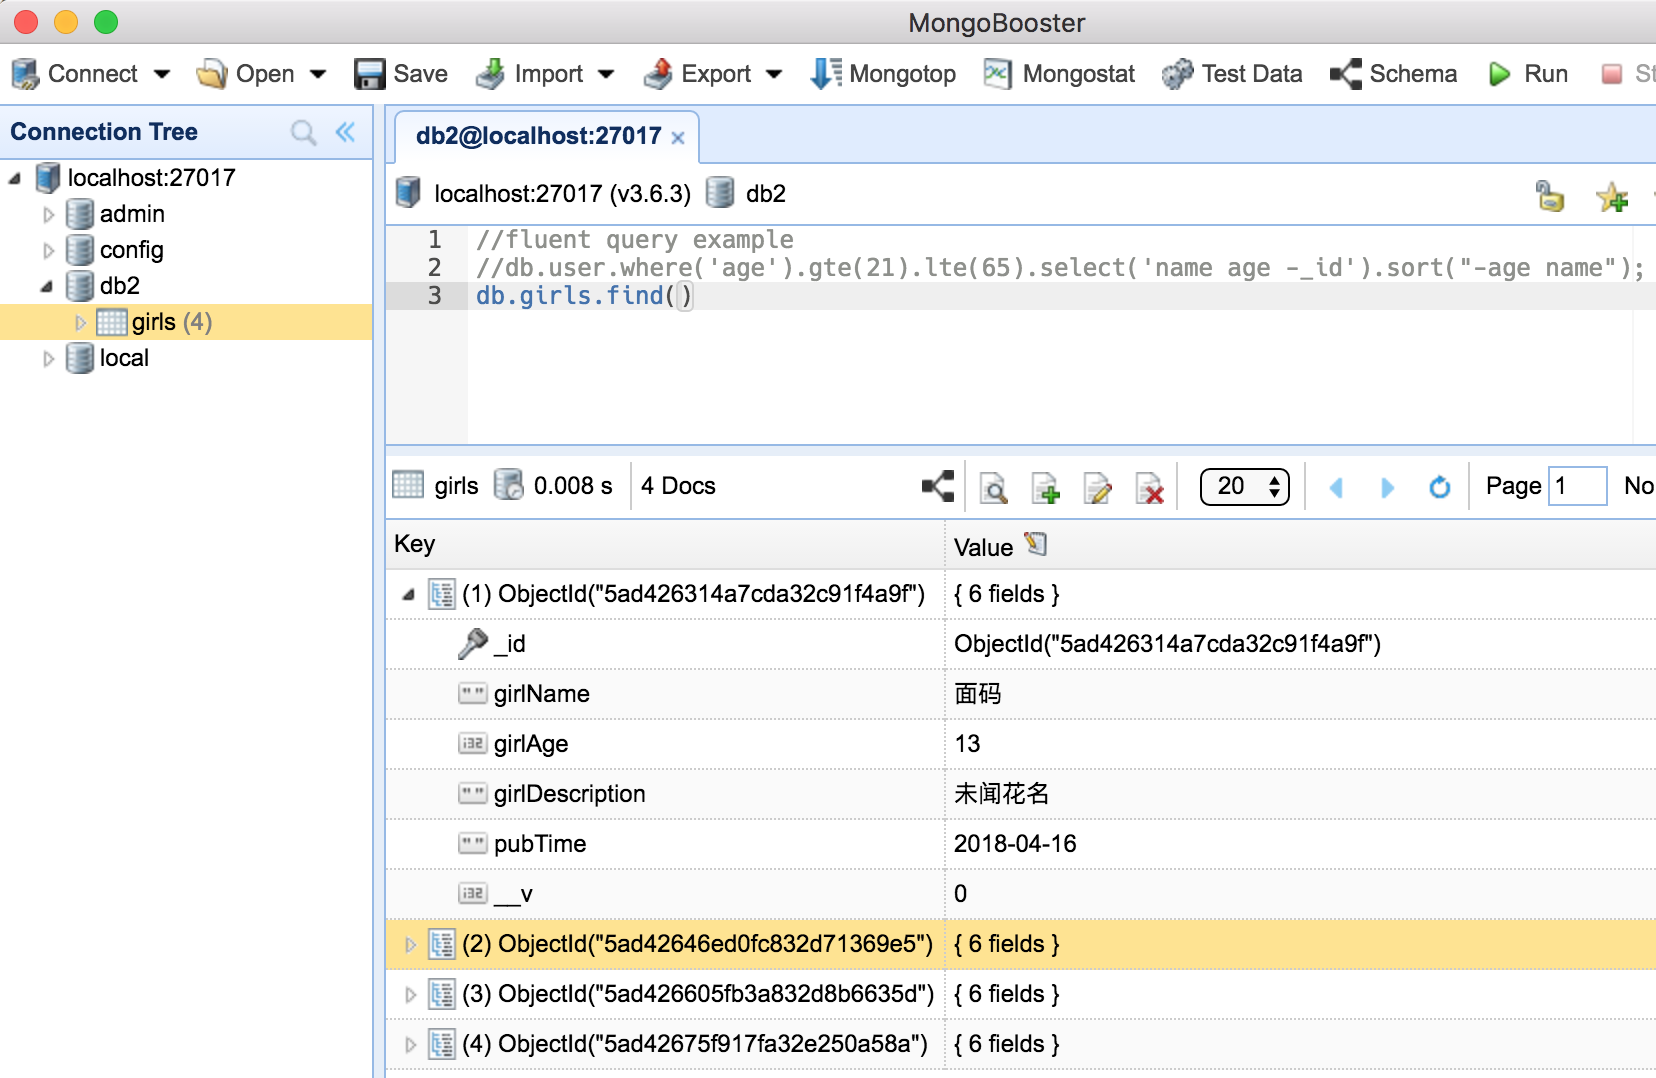
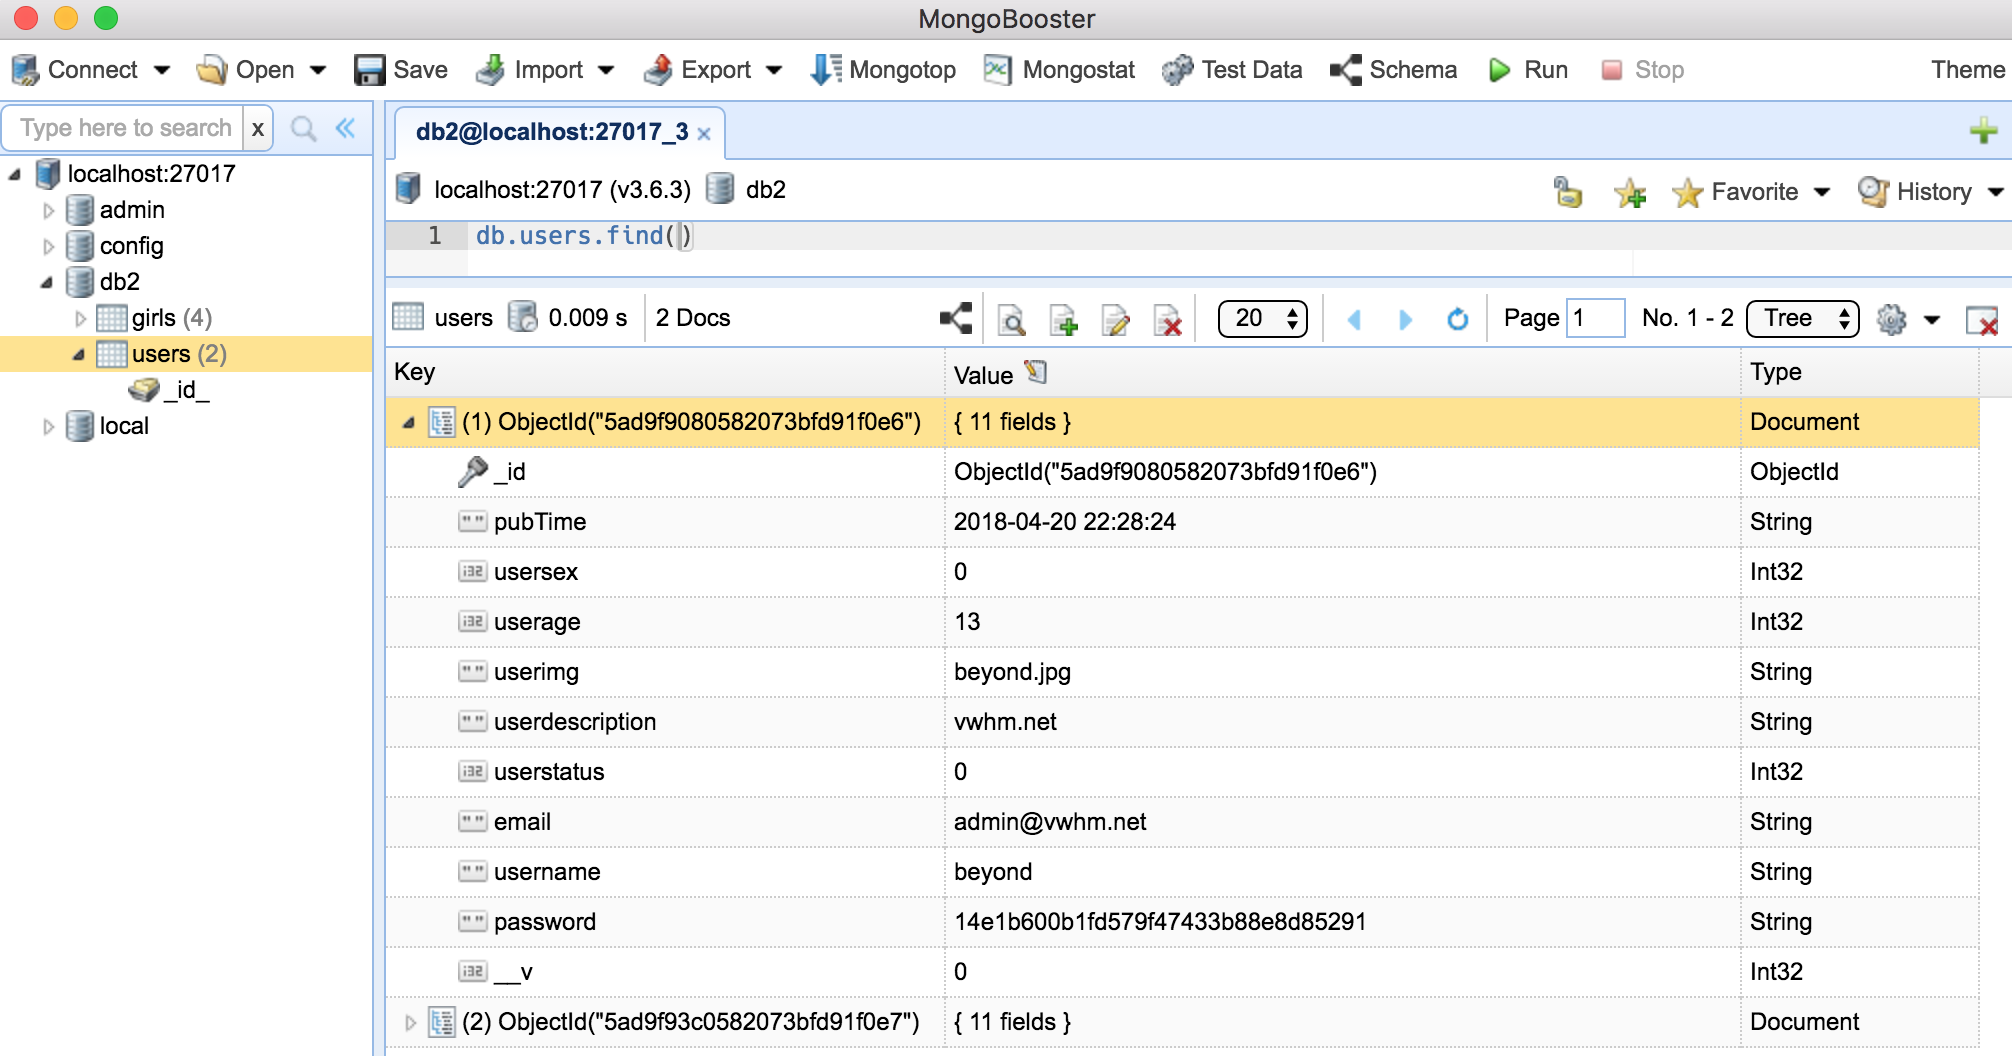
在这期间, 插句题外话,推荐了一个客户端软件 MongoBooster 对MongoDB数据库进行可视化管理
安装后, 通过url localhost:27017 进行连接mongodb数据库
然后就可以选择db2数据库,执行查询语句了…
在这期间,还插了一句题外话,使用md5 中间件
在github上,通过node + md5关键字, 搜索到了blueimp/JavaScript-MD5
客户端直接引入,然后使用
<script src="public/js/md5.min.js"></script>就可以使用了
var hash = md5("password");服务端先 npm install blueimp-md5 ,然后使用:
var hash = md5("password");最后,处理注册请求的node_52_router.js代码如下:
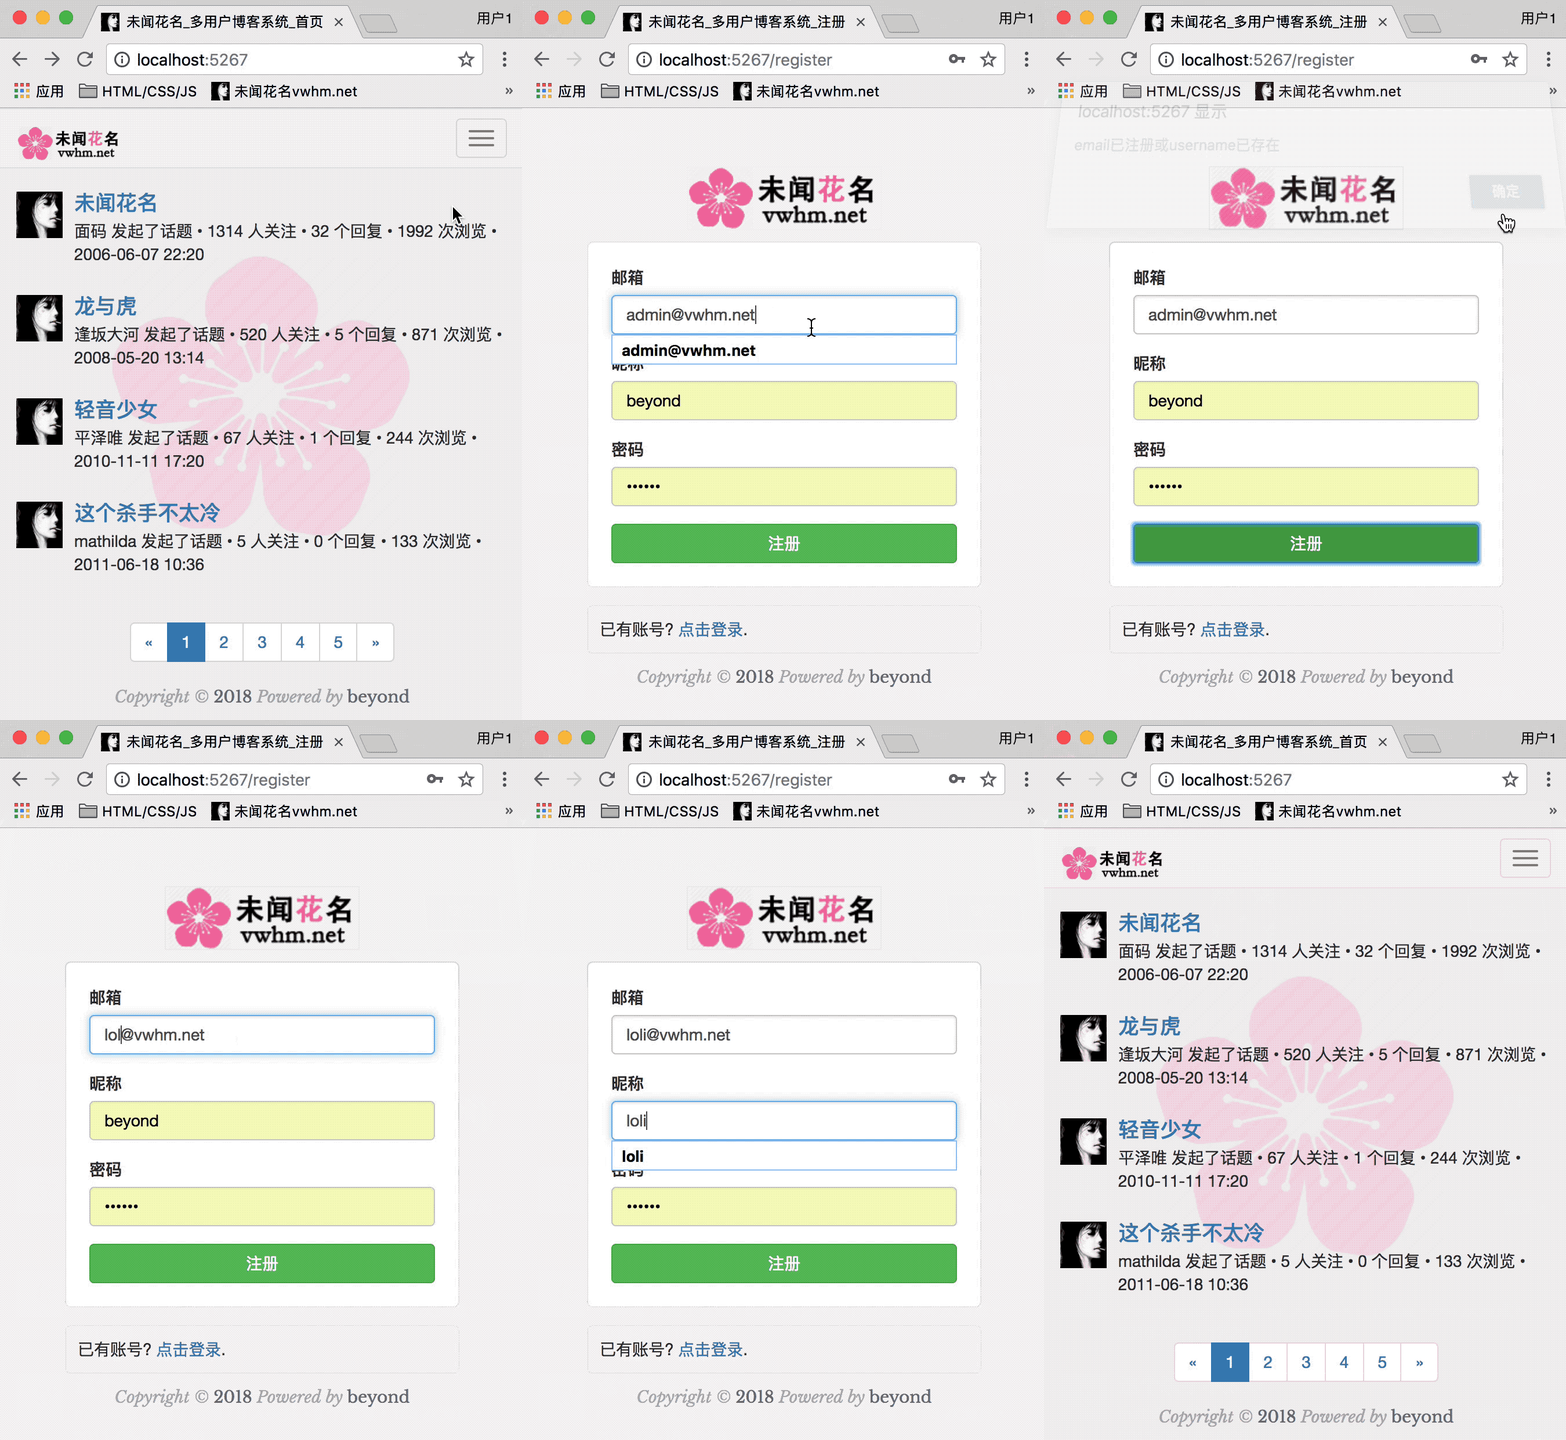
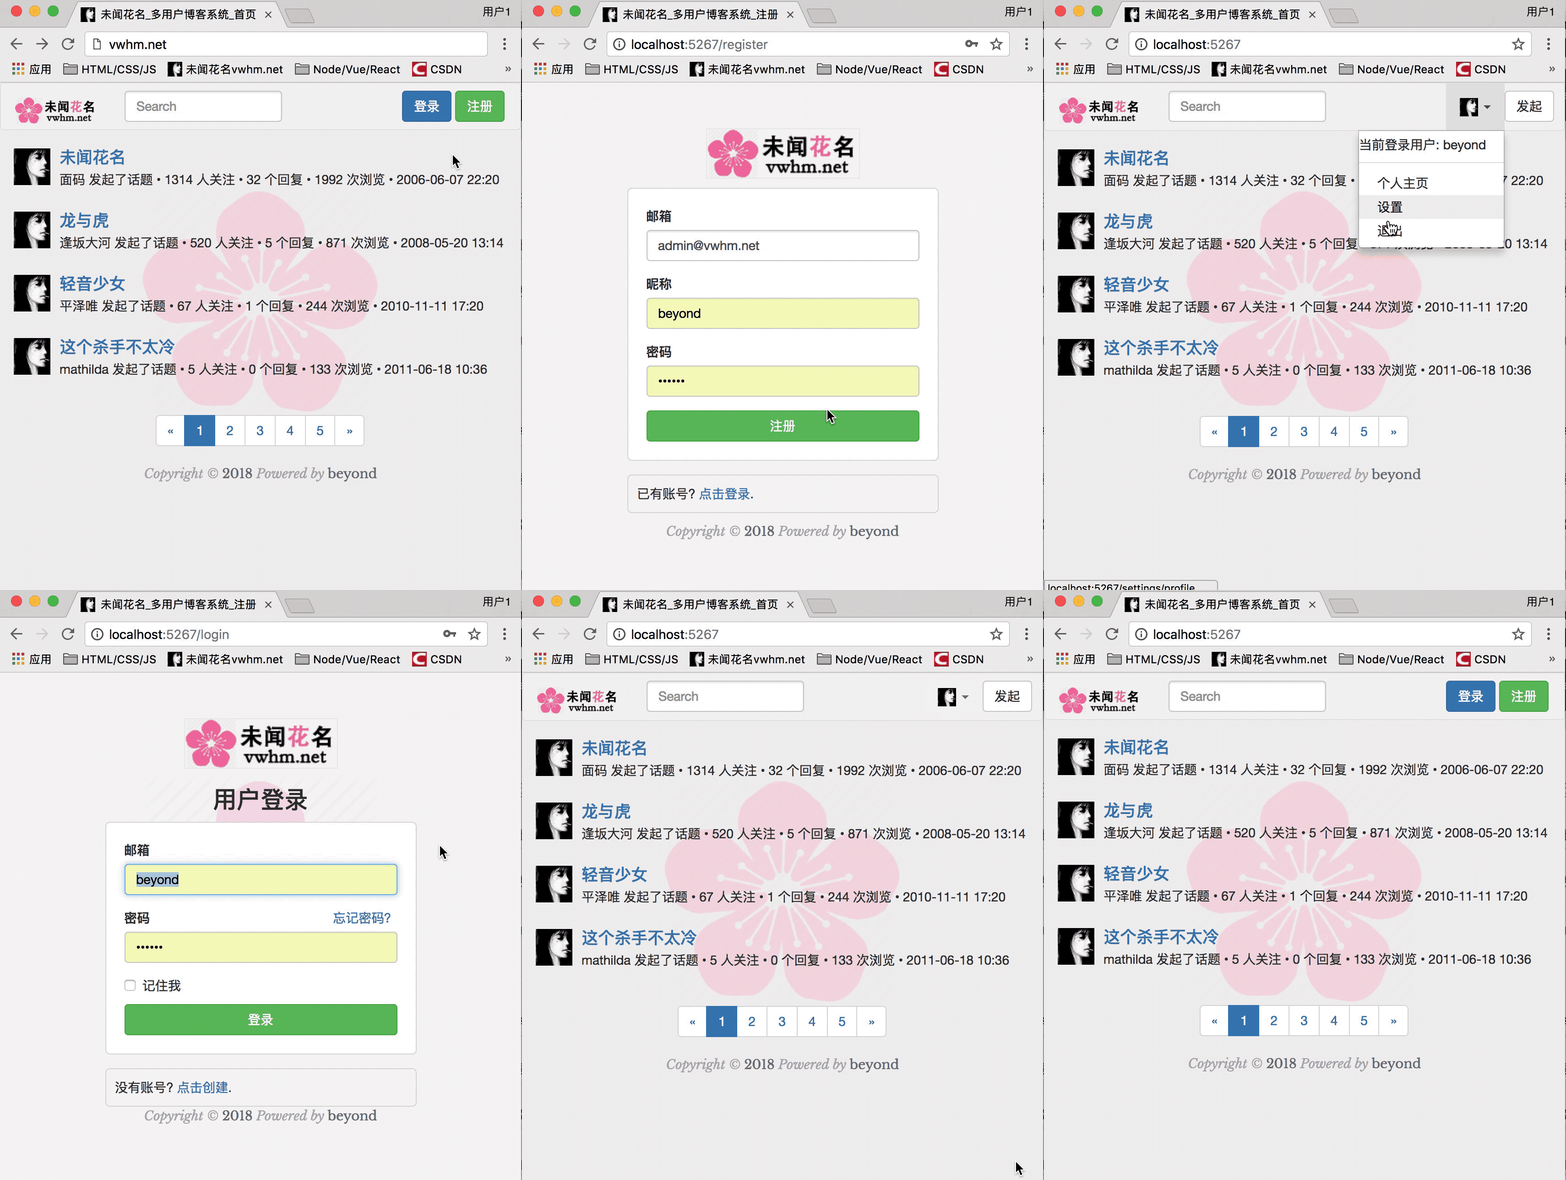
注册效果运行如下:
打开MongoBooster,使用command + R刷新一下, 查看数据库如下:
再次强调了一下, 服务端重定向,对于浏览器的异步请求无效!!! 记住就ok
表单具有默认的提交行为,默认是同步的,表单同步提交,浏览器会锁死(转圈儿)等待服务端的响应结果。
表单的同步提交之后,无论服务端响应的是什么,都会直接把响应的结果覆盖掉当前页面。
因此,以前的开发时,还要实现数据回显,即在重新渲染页面时,把前面提交过来的数据 填充到表单元素中
注意: 同步提交返回的结果 是直接覆盖掉 当前页面的内容
后来有人想到了异步提交的办法,来解决这个问题。
如今github仍然使用的是表单同步提交, 就是因为这样由服务端统一渲染,比较安全,虽然服务器压力大一些
补充一下,github 是一个 ruby on rails项目
由于express默认是不支持cookie和session的,
因此, 下面 使用express-session中间件,来保存用户登录的状态
express-session 官方文档: npmjs.com/package/express-session
第1步, 安装
npm install express-session –save
第2步, 配置 (一定要在appServer.use(router)之前)
第3步, 使用request.session.user 即可 设置或读取 session
(注意:此状态下的session 不是持久化的, 只是内存里,重启服务器就没有了)
我们在UserDao保存注册用户的时候,就将save()方法返回的user对象,存入session内
request.session.user = userFromDB
第4步, 在渲染node_52_index.html时, 将session中的user对象渲染过去
如果session有user,那么 显示 用户名
如果session没有user,那么 显示 登录和注册
第5步, 注销的话,只要 置null 并 delete request.session.user即可
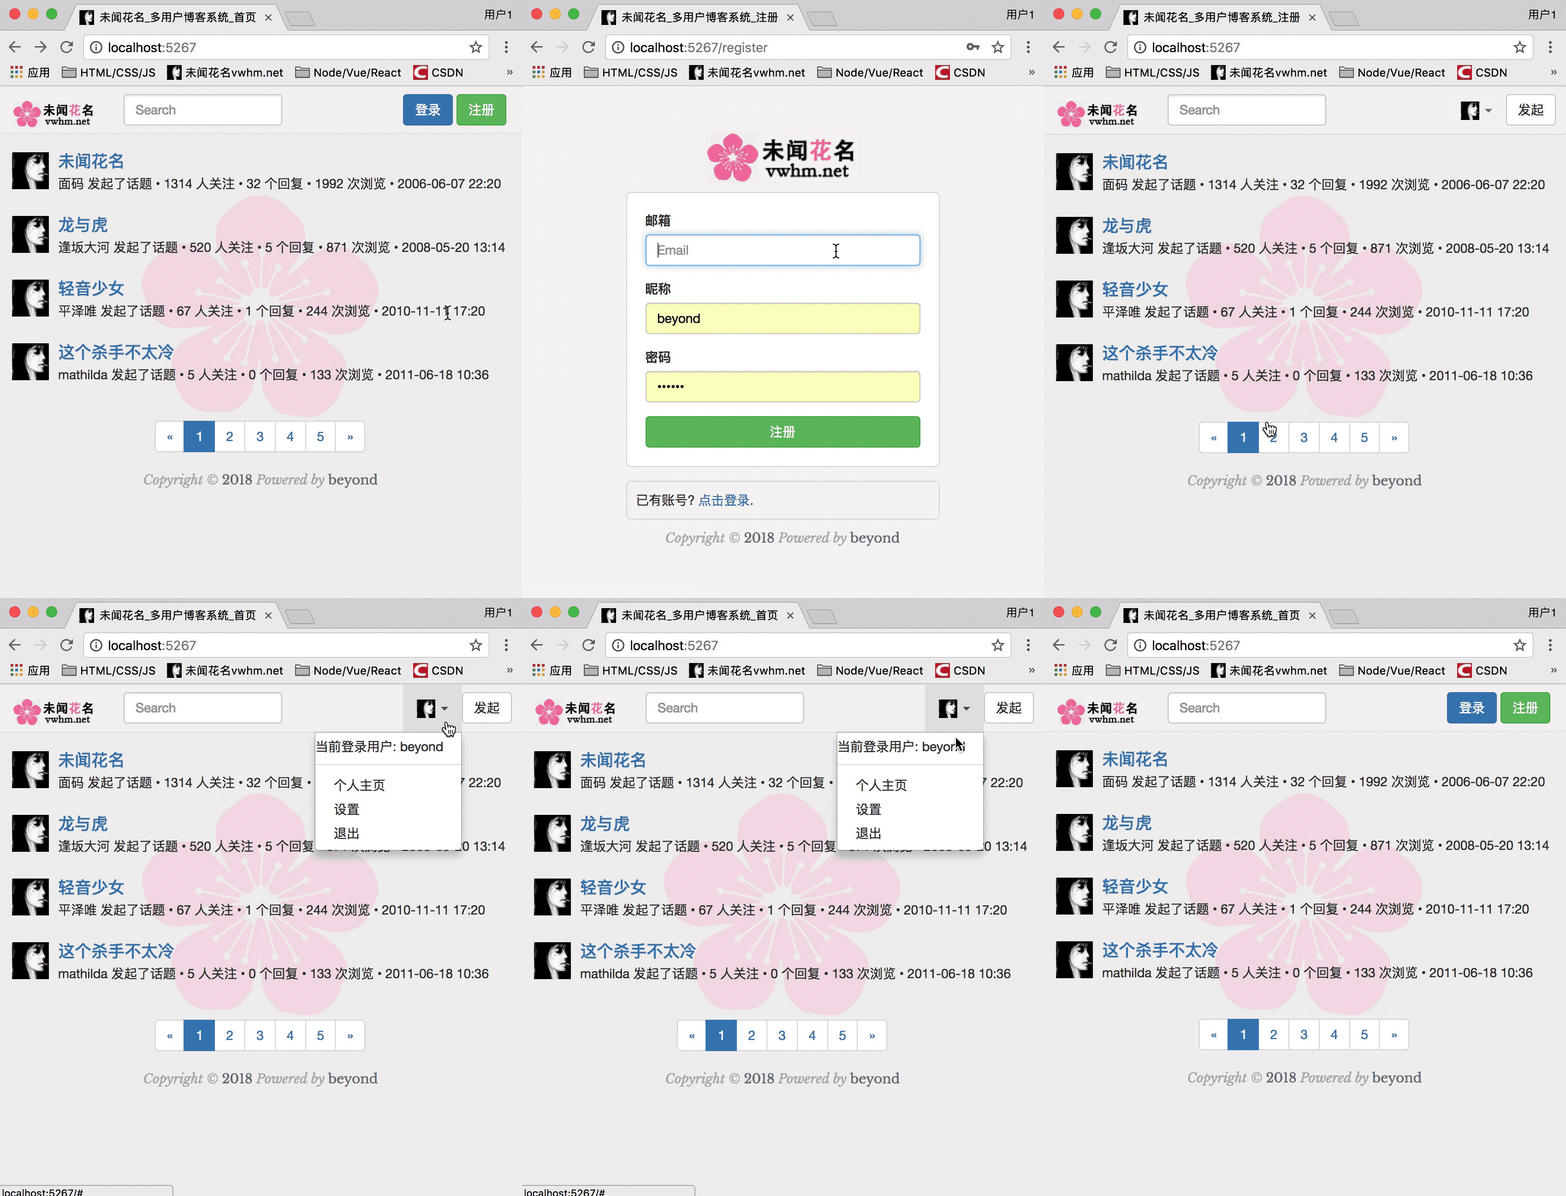
效果如下:
node_52_index.js代码如下:
node_52_router.js代码如下:
最后再把登录功能实现一下 (后面的上传头像、发布、评论、找回密码等等等以后再写)
node_52_login.html代码如下:
包含了登录处理请求的node_52_router.js完整代码如下:
最终效果如下: ((后面的上传头像、使用xheditor发布、评论、找回密码等等等以后再写))
NodeJS七天课程学习笔记_第8天 中间件_全局错误处理
推荐了chrome插件: EditThisCookie
推荐了模拟各种post和get等请求的工具: PostMan
一张图说明中间件的原理
中间件: 实质上是一种包装方法
中间件分为几种:
1. 不关心任何请求路径的中间件,如use方法
appServer.use( function(request,response,next ){
NSLog(‘请求被拦截下来了’)
// 请求又被放行了
next()
}
)
意思是任何请求,都会进入这个中间件
任何请求都会被这个use方法拦截下来, 后面的中间件就无法再获取到该请求了
除非在use方法最后一行, 调用next() ,放行该请求
2. 只关心 以/public开头的中间件, 如 /public/img/beyond.jpg或者/public/js/jquery.js
像这样的只有是以/public开头的请求,才会被拦截下来(不关心是post还是get方式)
appServer.use(‘/public‘, function(request,response,next ){
NSLog(‘请求被拦截下来了’)
// 请求又被放行了
next()
}
)
3. 严格匹配 请求方式 与 请求路径的中间件, 如get 和 post等
像这样的只有是/login的Get请求,才会被拦截下来
appServer.get(‘/login‘, function(request,response,next ){
NSLog(‘请求被拦截下来了’)
// 请求一般被处理了,不会再放行了, 要放行也可以…
next()
}
)
4. 错误处理中间件, 集中处理错误, use的参数只有1个函数, 该匿名函数 必须是四个参数
appServer.use(function(error,request,response,next ){
console.error(error.stack)
// 请求一般被处理了,不会再放行了, 要放行也可以…
next()
}
)
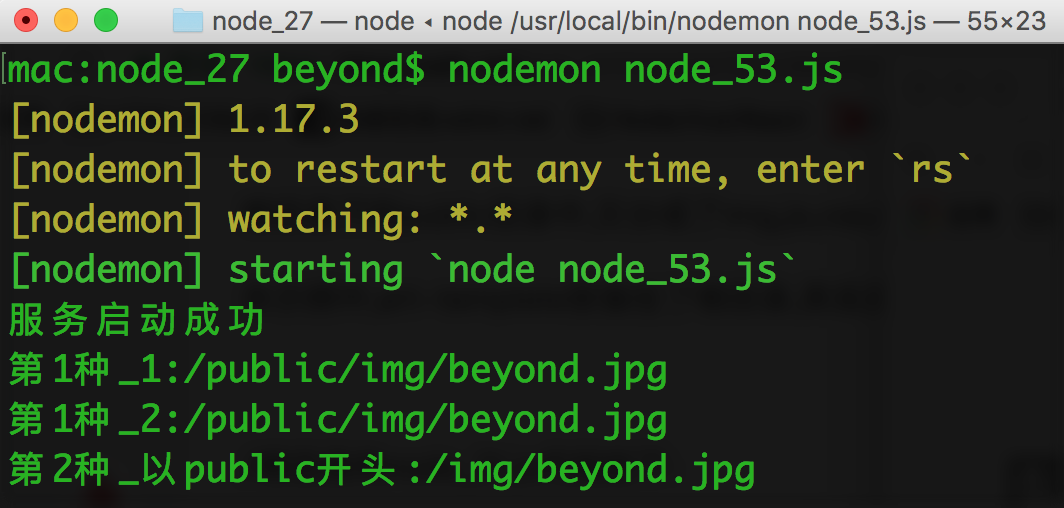
node_53.js完整代码如下:
效果如下: (第4种,全局错误处理,不知道为啥 不生效???!!!)
附录: express中关于中间件的 大概介绍
Using middleware
Express is a routing and middleware web framework that has minimal functionality of its own: An Express application is essentially a series of middleware function calls.
Middleware functions are functions that have access to the request object (req), the response object (res), and the next middleware function in the application’s request-response cycle. The next middleware function is commonly denoted by a variable named next.
Middleware functions can perform the following tasks:
- Execute any code.
- Make changes to the request and the response objects.
- End the request-response cycle.
- Call the next middleware function in the stack.
If the current middleware function does not end the request-response cycle, it must call next() to pass control to the next middleware function. Otherwise, the request will be left hanging.
An Express application can use the following types of middleware:
- Application-level middleware
- Router-level middleware
- Error-handling middleware
- Built-in middleware
- Third-party middleware
You can load application-level and router-level middleware with an optional mount path.
You can also load a series of middleware functions together, which creates a sub-stack of the middleware system at a mount point.
Error-handling middleware
Error-handling middleware always takes four arguments. You must provide four arguments to identify it as an error-handling middleware function. Even if you don’t need to use the next object, you must specify it to maintain the signature. Otherwise, the next object will be interpreted as regular middleware and will fail to handle errors.
Define error-handling middleware functions in the same way as other middleware functions, except with four arguments instead of three, specifically with the signature (err, req, res, next)):
内置中间件:
http://expressjs.com/en/guide/using-middleware.html
1. express.static
作用: serves static assets such as HTML,CSS,JS
2. express.json
作用: parses incoming requests with JSON payloads
3. express.urlencoded
作用: parses incoming requests with URL-encoded payloads
第3方中间件:
expressjs.com/en/resources/middleware.html
1. body-parser
2. compression
3. cookie-parser
4. morgan
5. response-time
6. serve-static
7. session
| Middleware module | Description | Replaces built-in function (Express 3) |
|---|---|---|
| body-parser | Parse HTTP request body. See also: body, co-body, and raw-body. | express.bodyParser |
| compression | Compress HTTP responses. | express.compress |
| connect-rid | Generate unique request ID. | NA |
| cookie-parser | Parse cookie header and populate req.cookies. See also cookies and keygrip. |
express.cookieParser |
| cookie-session | Establish cookie-based sessions. | express.cookieSession |
| cors | Enable cross-origin resource sharing (CORS) with various options. | NA |
| csurf | Protect from CSRF exploits. | express.csrf |
| errorhandler | Development error-handling/debugging. | express.errorHandler |
| method-override | Override HTTP methods using header. | express.methodOverride |
| morgan | HTTP request logger. | express.logger |
| multer | Handle multi-part form data. | express.bodyParser |
| response-time | Record HTTP response time. | express.responseTime |
| serve-favicon | Serve a favicon. | express.favicon |
| serve-index | Serve directory listing for a given path. | express.directory |
| serve-static | Serve static files. | express.static |
| session | Establish server-based sessions (development only). | express.session |
| timeout | Set a timeout period for HTTP request processing. | express.timeout |
| vhost | Create virtual domains. | express.vhost |
未完待续,下一章节,つづく
